



By default the BoltMail API creates addresses on the shared domains the site provides. That is perfect for most tests. But some applications refuse addresses from well-known throwaway domains, and some teams simply want their own brand on test mail. Custom domains solve both problems: you point your own domain at BoltMail, prove that you own it, and create mailboxes on it through the same API.
Who can use custom domains
Custom domains are a plan feature. They are included on the highest developer plan, and the site owner can switch them on for other plans too, with a different number of domains per plan. Your plan card on the pricing page lists "custom domain names" when the plan has them, and your dashboard shows a Your custom domains section only if your plan supports the feature. If it does not, upgrade to a plan that does.
Every plan with custom domains has an allowance, for example three domains. When you need more, the dashboard offers Buy extra domains, priced per domain, if the site owner has enabled it. Extra slots are added to your account as soon as the payment is confirmed.
What you need before you start
- A domain you control, and access to its DNS settings at your registrar or DNS host.
- A domain that is not used for your normal email. The MX record you add sends all mail for the domain to BoltMail, so never use the domain of your company mailboxes. Use a dedicated domain, or a subdomain such as
test.yourcompany.com.
Step 1: add the domain
In the dashboard open Your custom domains, type the domain and press Add domain. Public mail providers such as gmail.com are refused, and so is the domain of the BoltMail site itself, and a domain already in use by somebody else.
Step 2: create two DNS records
The dashboard now shows exactly what to create for your domain:
- A TXT record named
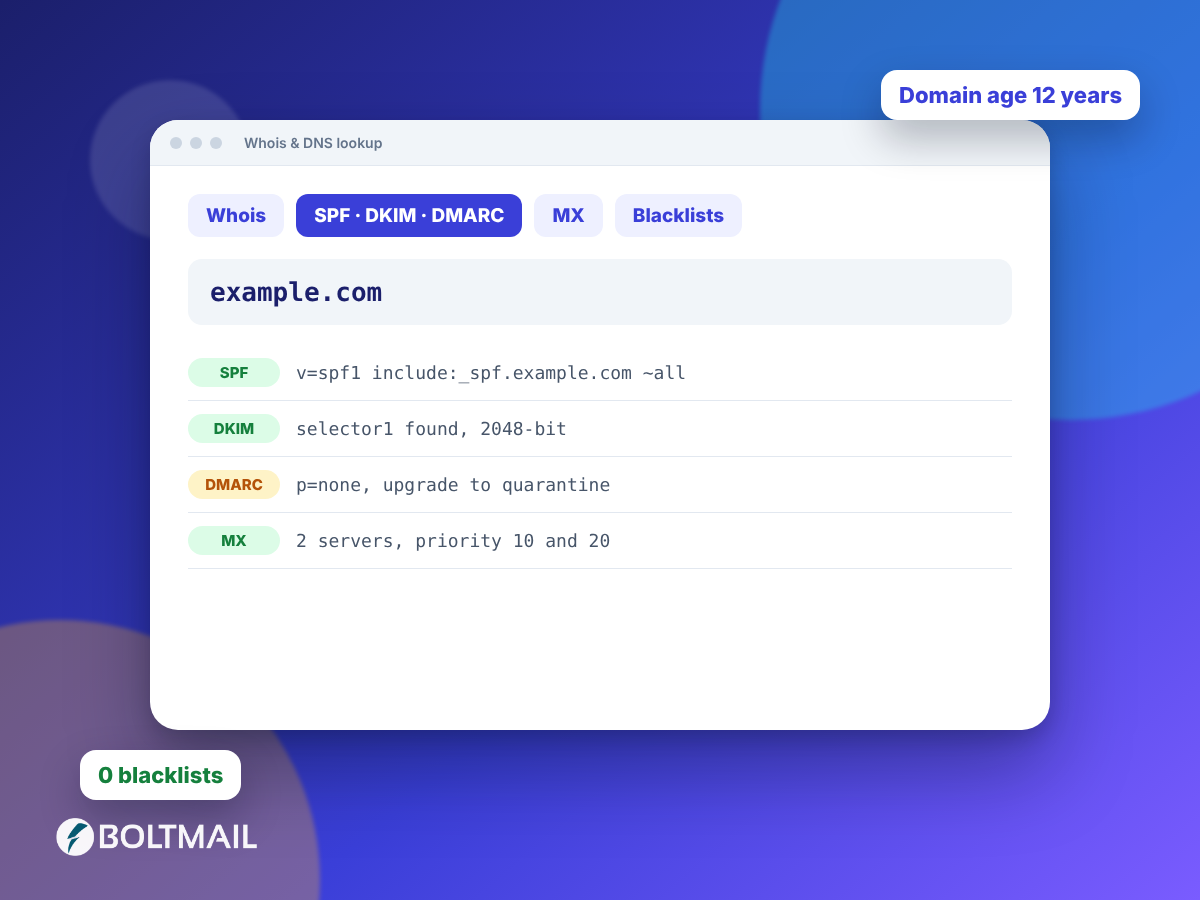
_boltmail-verify.yourdomain.comwith a value likeboltmail-verify=3f9a1c.... This proves ownership. Only someone who controls the DNS can add it. - An MX record on your domain pointing to the mail host shown in the dashboard, with priority 10. This is what makes mail for your domain flow to BoltMail.
Copy the values exactly. Many DNS hosts add the domain name automatically, so for the TXT name you may only need to type _boltmail-verify. Do not add quotation marks unless your provider insists, and do not leave spaces around the value.
Step 3: verify
DNS changes can take from a minute to a few hours to spread. When you think the records are live, press Verify now. BoltMail looks up the TXT record, and also checks the MX record. If the TXT record is found, the domain is verified. You may press Verify several times, though checks are limited to a few per ten minutes to protect the DNS lookup service. If it fails, the message tells you what was missing.
Step 4: activation
Depending on the site owner's settings, a verified domain becomes active at once, or waits for approval. Waiting happens because the mail server itself must also be told to accept mail for the new domain, which is something only its owner can do. While the status says "Verified, awaiting approval" you can do nothing wrong; just wait for the owner to activate it.
Step 5: use it in the API
Once active, the domain appears for your keys, and only your keys, in GET /domains:
{
  "domains": ["shared-one.example", "shared-two.example", "test.yourcompany.com"],
  "custom_domains": ["test.yourcompany.com"]
}
Create a mailbox on it by naming the domain:
curl -s -X POST https://boltmail.us/api/v1/mailboxes \
  -H "Authorization: Bearer $BOLTMAIL_KEY" \
  -H "Content-Type: application/json" \
  -d '{"username":"checkout-test","domain":"test.yourcompany.com"}'
Leave out username and BoltMail invents a readable one. Leave out domain and one is chosen at random from every domain you may use, which includes the shared ones. If you want your tests to always use your own domain, always pass it explicitly.
What stays private
A custom domain belongs to your account. Other developers do not see it in their domain list and cannot create addresses on it. It is never shown on the public website, so it cannot be picked by visitors. Mail sent to it is stored just like any other mailbox mail and follows the same retention rules.
Troubleshooting
- Verification keeps failing. Check the TXT name. A frequent mistake is a doubled domain, such as
_boltmail-verify.yourdomain.com.yourdomain.com. Use an online DNS lookup to see what the world sees. - It verified, but no mail arrives. The MX record is missing or points elsewhere, or the domain is still waiting for approval. Check the status badge first.
- "You have used all your slots". Remove a domain you no longer need, or buy extra domains if your plan offers it.
- Old mail provider still receiving. If the domain had MX records before, remove them. Two competing MX records split your mail.
Removing a domain
Press Remove next to a domain to release the slot. Mailboxes on it stop receiving mail, so delete or finish them first. You can also remove the DNS records afterwards.
With a custom domain, your test mail looks like it comes from your own brand and avoids the filters that block shared throwaway domains. Read the quickstart if you are new to the API, and see the FAQ for short answers.